{{g.topic}}{{g.level}}{{g.minutes}}
{{g.title}}
{{g.lead}}
{{g.progress}}{{g.allLabel}}
Jump to section
{{sec.h}}
Tip:
Short written guides for the things people make most. Each one matches what you’ll see in the studio.
{{g.lead}}
Tip:
A lid made exactly the size of its box won’t go on once it’s printed. Here’s how to build in the little bit of room it needs, with real numbers.
Printed plastic spreads a tiny bit as it’s laid down, so two parts drawn to the same size end up rubbing. The fix is a small gap called the fit allowance (some people call it clearance).
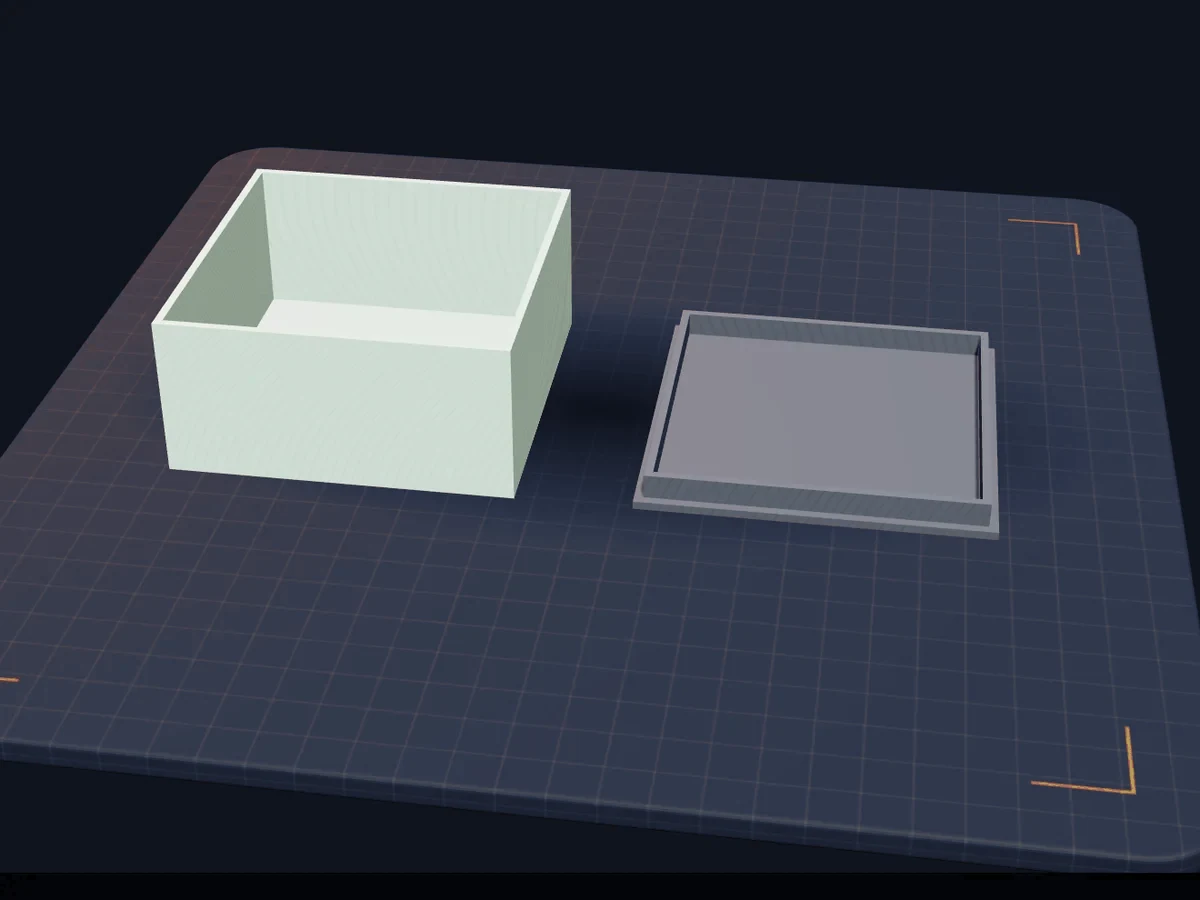
Add a Box and type 84 × 84 × 40 mm. Add a second box, 80 × 80 × 40 mm, and set it to Hole. A plain hole like this one stays exactly the size you type.
Raise the hole 2 mm so it leaves a 2 mm floor, then select both, choose Align… and line up their centers left to right and front to back. You now have a box with 2 mm walls and an opening 80 mm wide.
Your fit allowance is how much room a part needs to slide into a hole on your printer. It starts at +0.2 mm. To check yours, choose Tools on the left, then Fit test, and choose Put the fit test on the mat: a small plate with six numbered holes and a peg.
Choose Export the fit test to export just the test, print it, then tap the first hole the peg slides into without forcing. Your allowance is set. Delete the fit test from the mat before you go on, so it isn’t printed with your box.
Build the lid beside the box, not on top of it: a hole cuts anything it overlaps. Make a plate 84 × 84 × 2 mm for the top of the lid. You’ll print it upside down, so the lip sits on top of the plate on the mat.
The lip has to clear the box on every side, so take your allowance off each side. With +0.2 mm, the 80 mm opening gets a lip 79.6 × 79.6 mm (80 − 0.2 − 0.2). Make it 6 mm tall, raise it 2 mm so it sits on the plate, and center it on the plate with Align…. The ready-made Box with lid uses the same rule.
To save plastic, hollow the lip with a 75.6 × 75.6 × 6 mm hole, raised 2 mm so it sits on the plate, and centered on the lip. Its walls are then 2 mm thick, like the box, and the plate stays solid.
Export, open the file in your slicer and print. For a big box, test the fit first: make a copy of the design, lower the box’s height to 10 mm, and print that ring with the lid. If the lid slides on, print the full box.
Tip: Want it done for you? In Create with AI, choose Or start from a ready-made design, then Box with lid. It’s free, uses no credits, and builds the fit in.