Skip to content
Help center Guides
Guides

Step by step, start to print.

Short written guides for the things people make most. Each one matches what you’ll see in the studio.

Basics · Beginner · 10 min

Your first printable design

Open the studio, add a few shapes, size them exactly and export a file for your slicer. No CAD experience needed.
Basics · Beginner · 6 min

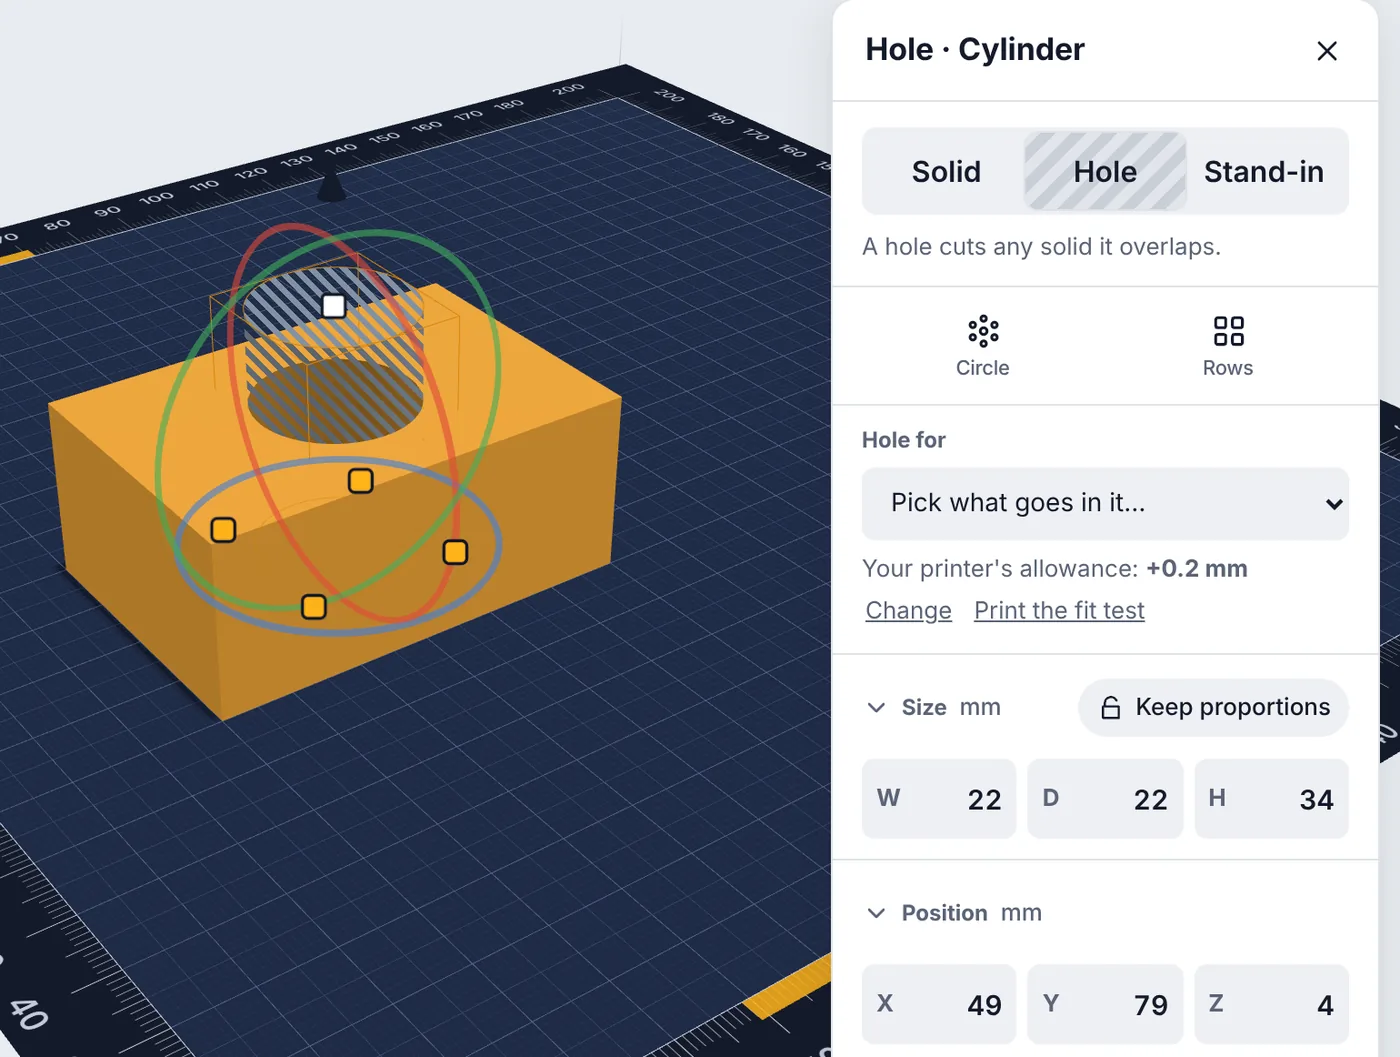
Holes and groups

Cut holes, combine shapes and keep pieces together. This is how most real parts get made.
Text · Beginner · 6 min

Raised and cut-in text

Put a name on it. Raise letters off a surface, cut them in, bend them into an arc or wrap them around something round.
Text · Beginner · 4 min

Sign your work with a maker’s mark

Put your signature on what you make: type it in a signature style, sign it on screen or bring it in from a file, then cut it into the bottom of a print or raise it on top.
Fits · Intermediate · 8 min

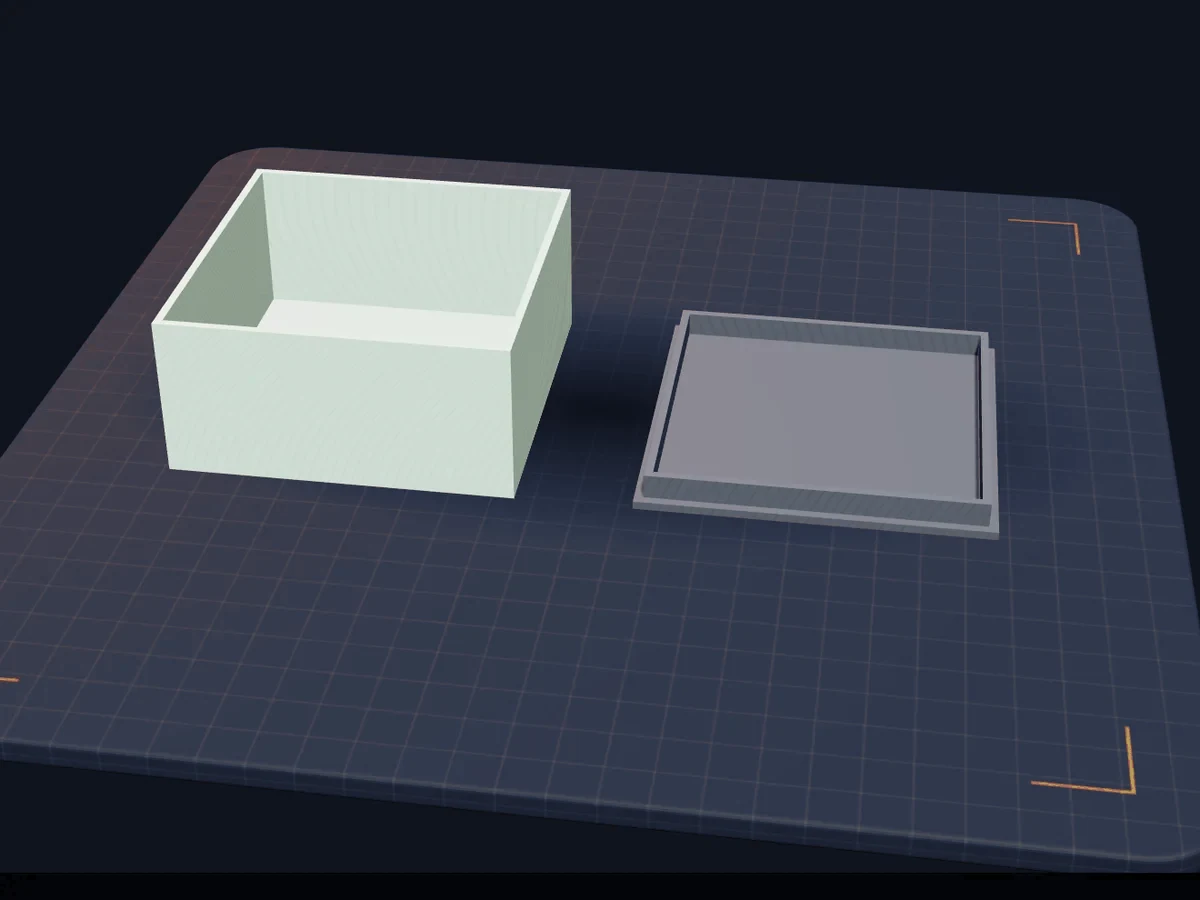
Make a lid that actually fits

A lid made exactly the size of its box won’t go on once it’s printed. Here’s how to build in the little bit of room it needs, with real numbers.
Parts · Intermediate · 5 min

Using the parts library

Ready-made functional parts, from screws and nuts to hinges, joints and holders for things you own. Drop one in instead of drawing it.
Parts · Beginner · 5 min

Design around real objects

Make holders, trays and hiding spots for things you already own, like an LED tea light, AA batteries or a tracker tag, with exact pockets and see-through stand-ins that show the fit.
Fits · Intermediate · 6 min

Join parts and add a flush screw cap

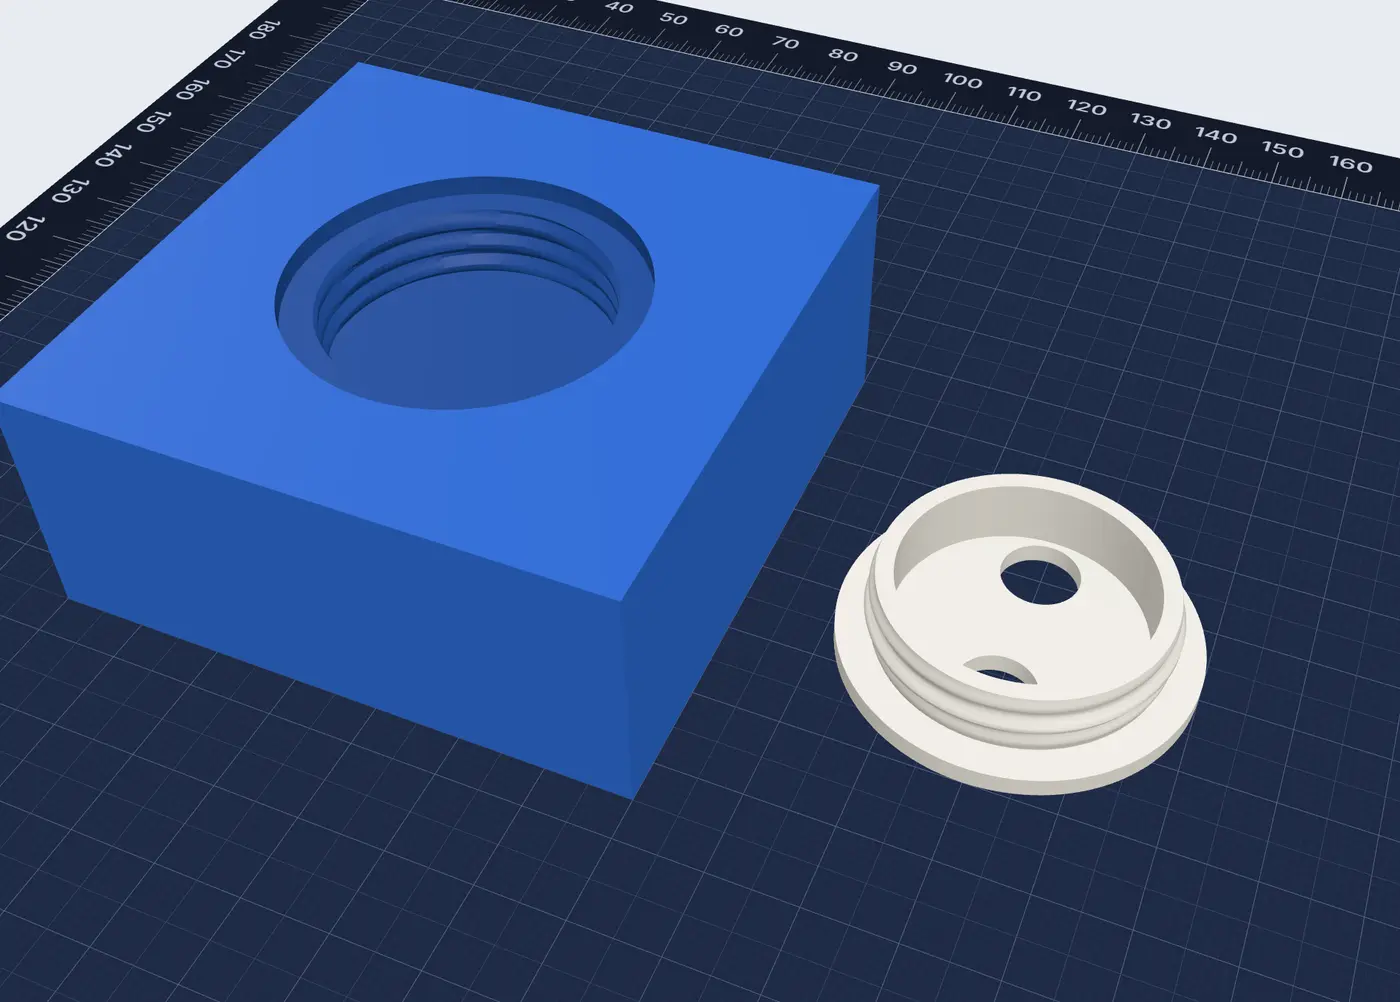
Dovetails, puzzle joints and alignment pins to join parts edge to edge, and a screw cap that sits flush with the surface, for a hidden compartment or a battery door.
Colors · Intermediate · 8 min

Paint a model in colors

Color any model on the mat, from a 3D figure to an STL you imported: fill a part in one tap, brush, lasso or stamp, then export a 3MF your slicer prints in every color.
Printing · Intermediate · 6 min

Export it for your slicer

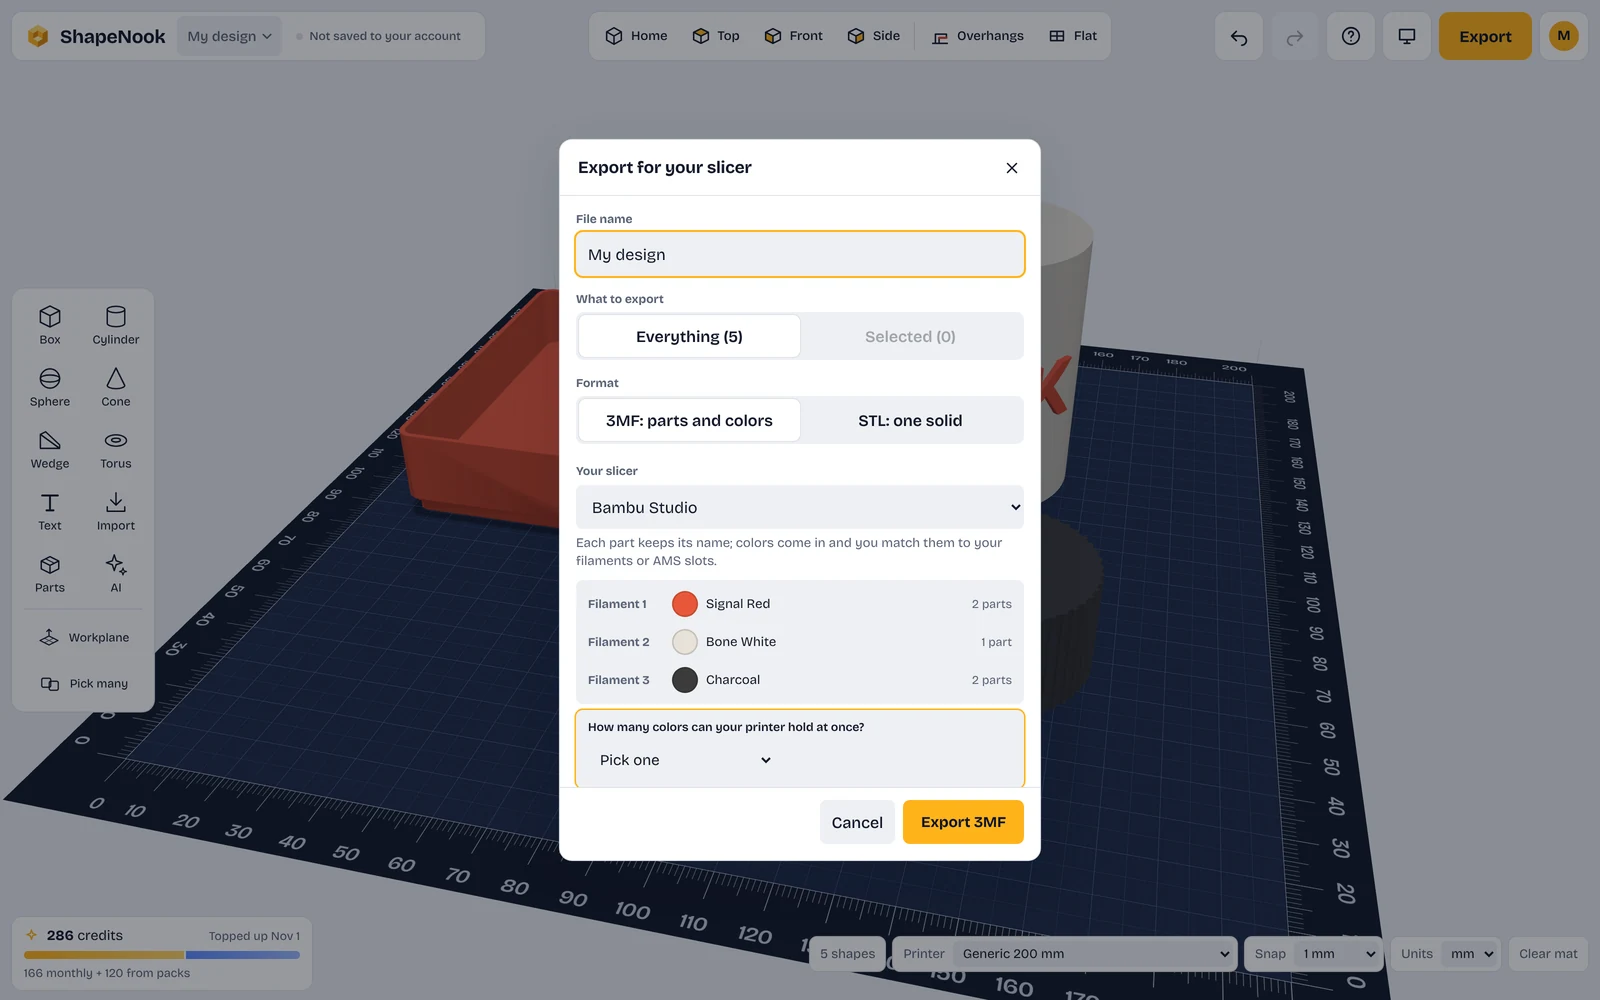
Get your design out of ShapeNook and into your slicer: an STL on any plan, or a 3MF that keeps every color with ShapeNook Plus.
Printing · Beginner · 6 min

Tune it to your printer

Six small free tests you print once. Tap the number that came out best, and holes, nuts, hinges, magnet pockets and the overhang check match your printer.
Tablets · Beginner · 4 min

Tablet, pen and finger

The full studio on iPad and Android tablets, made for finger and pen. A mouse and keyboard work too.
Create with AI · Beginner · 5 min

Create with AI

Describe what you need, or start from a picture, and get a design made of shapes you can still edit, a building or a sculpted 3D figure.
Colors · Beginner · 6 min

Multicolor from a picture

Turn a drawing, logo or photo into one raised piece per color, sized so a 0.4 mm nozzle prints every detail, and export the colors, ready for your slicer.
Fits · Intermediate · 6 min

Hinges and print-in-place joints

Find the gap your printer needs for moving parts, then add hinges and joints that print already put together and swing instead of fusing.
Projects · Beginner · 10 min

Design a Christmas ornament

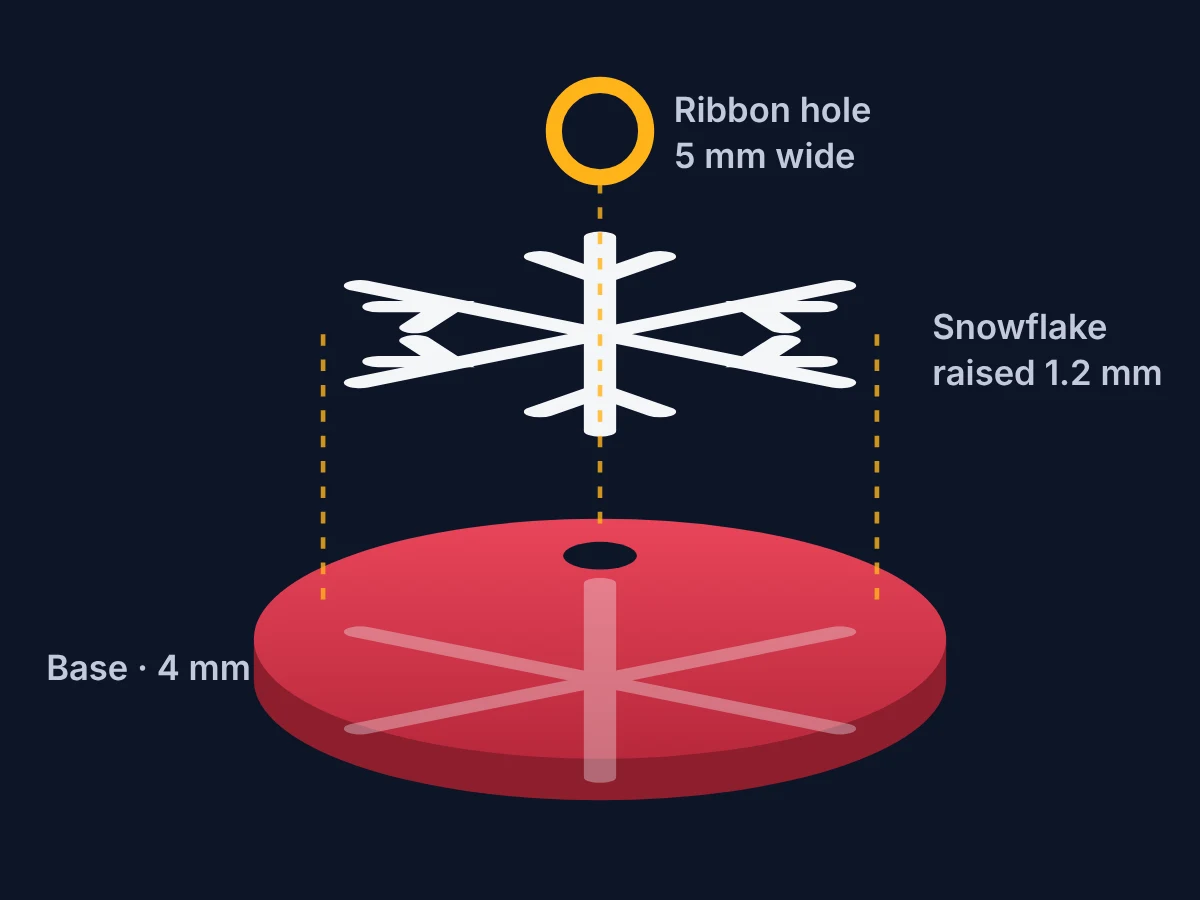
A flat base, a raised design and a ribbon hole: build a snowflake ornament from simple shapes that prints flat in two colors with no supports.
Templates · Free Rather start from a design? Stands, boxes with lids, hooks and organizers you can change and print. See the templates →
Ask Nook