{{g.topic}}{{g.level}}{{g.minutes}}
{{g.title}}
{{g.lead}}
{{g.progress}}{{g.allLabel}}
Jump to section
{{sec.h}}
Tip:
Short written guides for the things people make most. Each one matches what you’ll see in the studio.
{{g.lead}}
Tip:
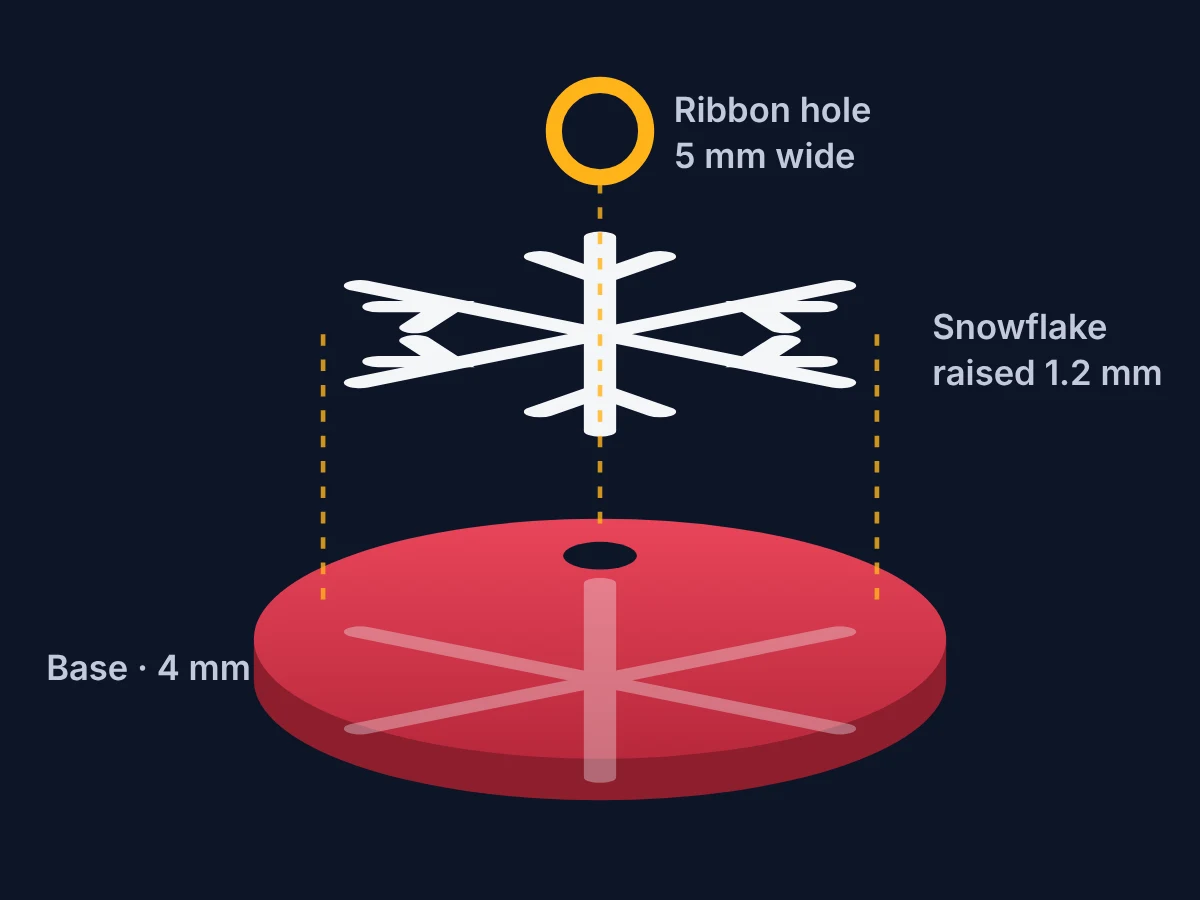
A flat base, a raised design and a ribbon hole: build a snowflake ornament from simple shapes that prints flat in two colors with no supports.
Drop a Cylinder on the mat and type 70 mm wide, 70 mm deep and 4 mm tall. Round the edge a little with the rounding slider.
Make a thin Box 56 mm long, 2 mm wide and 1.2 mm tall and set it across the middle of the base. Three bars crossing make six arms. With ShapeNook Plus, Repeat in a circle makes the copies; on Free, copy the bar twice and turn the copies with the 15° turn buttons.
Place a 5 mm Cylinder near the top edge, make it a Hole and group it with the base so it cuts through.
Add raised text 1.2 mm tall with the text tool. Keep letters at least about 6 mm tall and bold.
Export an STL and add a color change in your slicer at the first layer above the base, or with ShapeNook Plus export a 3MF with the base and snowflake in their own colors. More ideas are on the Christmas ornaments page.
Tip: Make a matching set by keeping the base and swapping only the design on top.