Design your own Christmas ornaments. Print them tonight.
A good ornament is a flat base, a raised design and a loop to hang it. You can build one from simple shapes in about ten minutes, size every part exactly, and print it flat with no supports.
What makes an ornament print well
- A flat back. Printed lying flat, an ornament needs no supports and the base comes out smooth.
- A base 3 to 5 mm thick. Thinner bends and snaps on the tree; thicker just takes longer.
- A ribbon hole at least 4 to 5 mm wide, with 2 mm or more of material around it so the loop doesn’t tear.
- Raised details at least 0.8 mm wide. That’s two lines from a 0.4 mm nozzle. Thinner lines break up or disappear.
- Letters at least about 6 mm tall if they’re raised, and a little bolder than you think.
- A size of 60 to 80 mm across. Big enough to read from across the room, light enough for a branch.
Build a snowflake ornament in about ten minutes
- Pick your printer. In the bar along the bottom of the studio, choose your printer so the mat matches its bed.
- Make the base. Drop a cylinder on the mat and type its size: 70 mm wide, 70 mm deep and 4 mm tall. Round the edge a little with the rounding slider.
- Add the snowflake. Make one bar from a thin box, 56 mm long, 2 mm wide and 1.2 mm tall, and set it across the middle of the base. Three bars crossing make six arms. With ShapeNook Plus, Repeat in a circle makes the copies in one step; on Free, copy the bar twice and turn the copies with the 15° turn buttons: four presses for one, eight for the other.
- Cut the ribbon hole. Place a 5 mm cylinder near the top edge, make it a Hole, and group it with the base so it cuts through.
- Add a year or a short word. Use the text tool for raised letters 1.2 mm tall, and keep them bold.
- Export it. STL is free and unlimited. With Plus, 3MF keeps the base and the snowflake as separate colors for your slicer.
Two ways to print it in two colors
Swap filament at a height
Because the design sits on top of the base, every color has its own height. In your slicer, add a color change at the first layer of the snowflake (4 mm here). The printer pauses, you swap the filament, and it carries on.
Export each part in its own color
Give the base and the snowflake their colors in ShapeNook and export a 3MF. It opens in Bambu Studio, OrcaSlicer or PrusaSlicer with the colors already set, so you only match each one to a filament slot.
Turn a child’s drawing into an ornament
Choose From a picture, then Flat artwork, and pick a photo of the drawing. It’s redrawn in clean, flat colors with bold outlines, then built as raised pieces, one per color, ready for a multi-color print. Pick 2 to 16 colors. Any lettering is read first, so you can check the spelling.
Then add a base and a ribbon hole the same way as the snowflake, and size the whole thing to about 70 mm.

Ornaments worth making this year
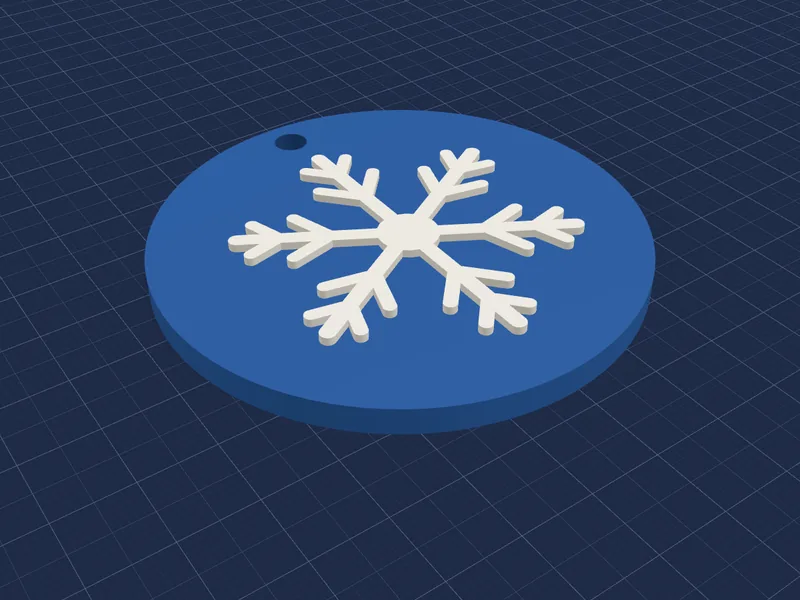
Snowflake set
One base, six different snowflakes on top. Print them in white on blue.
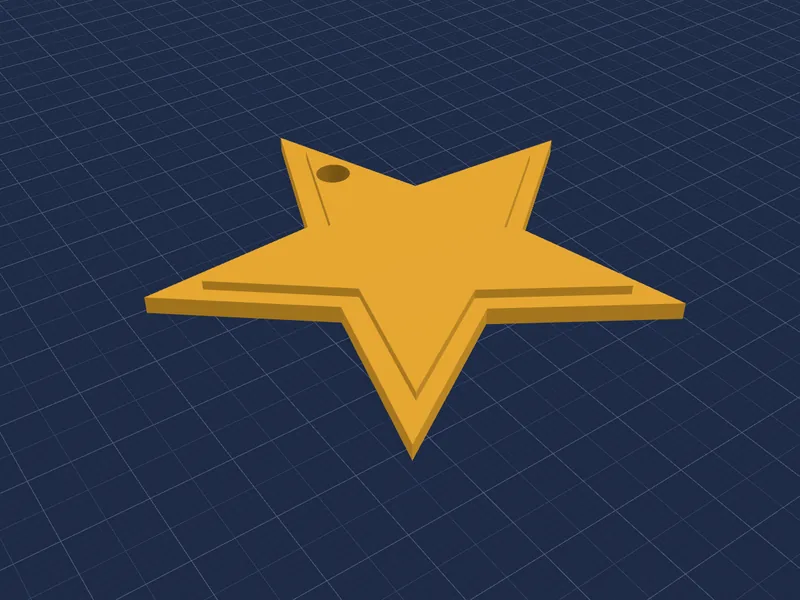
Beveled star
A five-point star with a beveled edge and a hanging loop. Add the year across the middle.
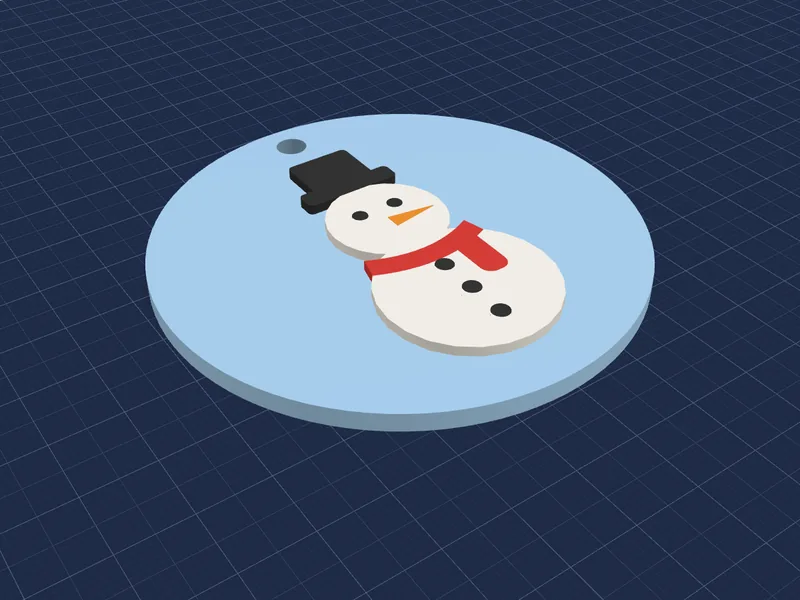
The family drawing
A child’s drawing from this year, made into flat art on a round base.
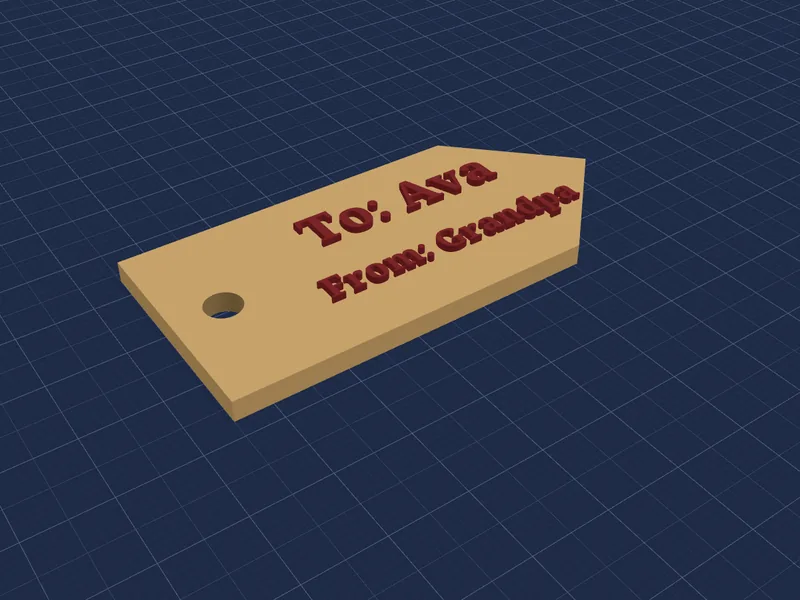
Gift tags
Small tags with a ribbon hole that hang from a present, then go on the tree.
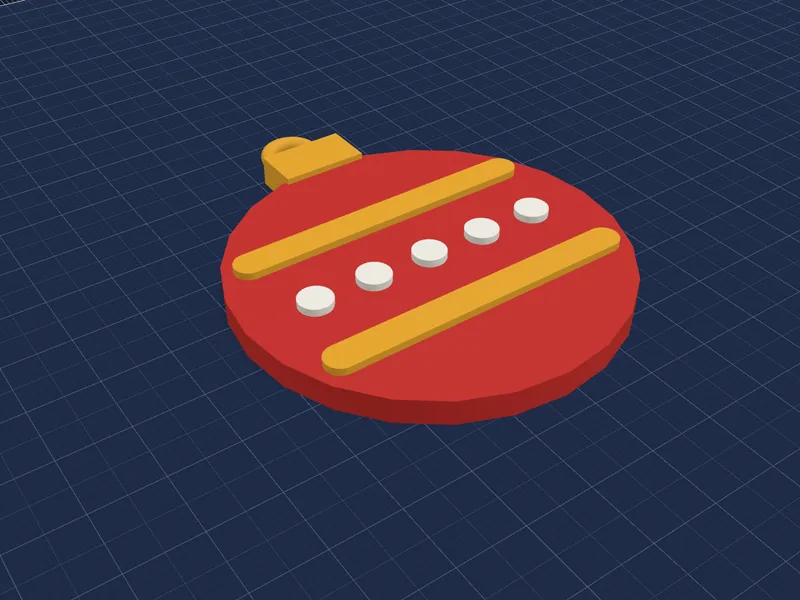
Classic bulb
The old glass-bulb shape with a cap and stripes, in as many colors as your printer holds.
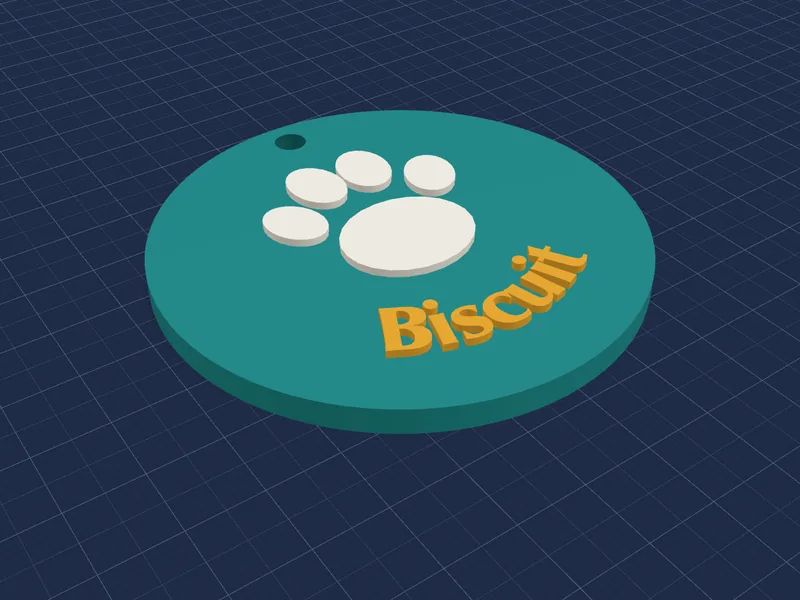
Pet paw print
Four toe beans and a pad, raised on a round base with the pet’s name.
Questions about printing ornaments
Do I need a multi-color printer?
No. Swapping filament at a height works on any printer with one nozzle, because each color of an ornament sits at its own height.
Do ornaments need supports?
Not if they print lying flat with a flat back. Keep the ribbon hole going straight through, top to bottom as it prints.
Which filament should I use?
PLA is the easiest and comes in every color, including glitter, silk and glow-in-the-dark. Keep ornaments away from hot bulbs.
Can I use a drawing or a logo?
Yes. Flat art from a picture comes with ShapeNook Plus and costs 60 credits. You can also import an SVG drawing; on Free it comes in as one piece, and with Plus you can split it into parts by color.
How long does one take to print?
It depends on your printer and settings. Your slicer shows the time before you print.