{{g.topic}}{{g.level}}{{g.minutes}}
{{g.title}}
{{g.lead}}
{{g.progress}}{{g.allLabel}}
Jump to section
{{sec.h}}
Tip:
Short written guides for the things people make most. Each one matches what you’ll see in the studio.
{{g.lead}}
Tip:
Dovetails, puzzle joints and alignment pins to join parts edge to edge, and a screw cap that sits flush with the surface, for a hidden compartment or a battery door.
Choose Parts, then Joints and connectors. Each joint comes in two halves: a dovetail Tab and Slot, a puzzle Knob and Socket, or an alignment Pin and Hole. The hole half is grown by your fit allowance, so the halves go together. Joints are free, both halves.
Put the tab on the edge of one part, overlapping into it, and group them. Cut the matching slot into the edge of the other part. Dovetails, 8 to 32 mm wide, slide in from the end: good for a split print, a sliding lid or a shelf. Puzzle joints drop in from above and lock flat parts, like the two halves of a big sign.
Cut a Hole into each of the two faces that meet and print the Pin on its own. The pin lines the parts up while you glue or press them together.
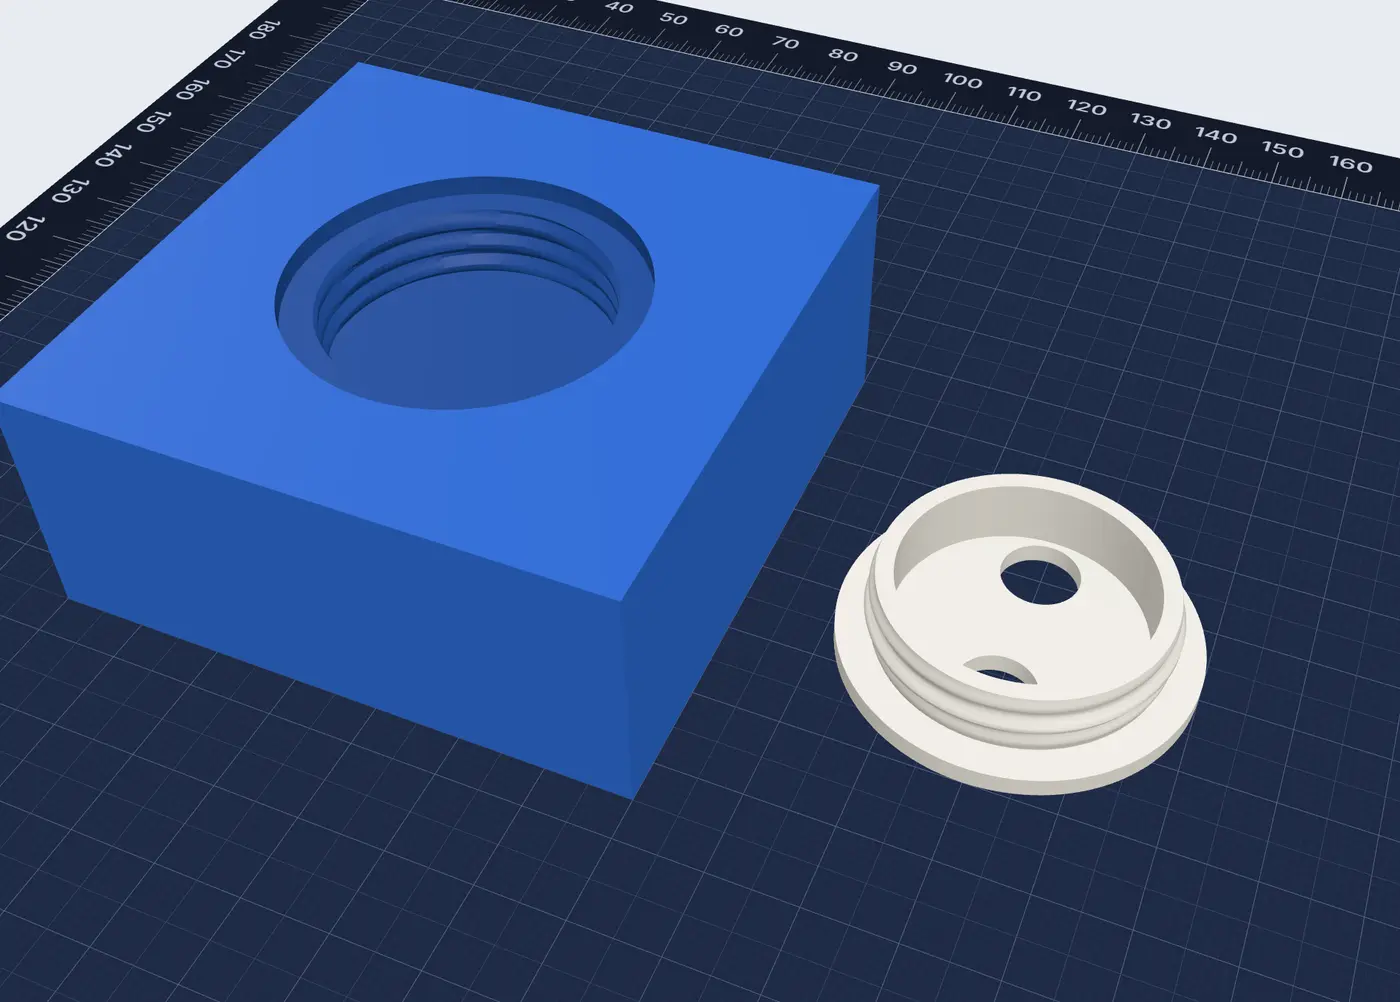
Choose Flush screw cap and a size from 20 to 60 mm. Place the Pocket so its top is level with the surface of your part, and group them to cut it. Then place the Cap: it prints face down with its threads up. Pick a coin slot, finger holes or both to turn it with. Screwed in, it sits flush with the surface. The pocket, cap and stand-in come together with ShapeNook Plus.
Joint holes and the cap’s thread use your fit allowance. Print the free Fit test in Tools once, and every joint and cap after that matches your printer.
Tip: Splitting a big print? Select it and choose Split to fit: ShapeNook cuts it into pieces that fit your bed, with pins already in them.