Easy CAD for 3D Printing: A Beginner's Decision Guide
Key takeaways
- CAD is the right tool for functional 3D prints because it exports watertight, millimetre-accurate STL or 3MF files your slicer accepts directly.
- Choose CAD by time-to-first-part, exact sizing, built-in print checks, and price rather than by feature count.
- Match the tool to the job: TinkerCAD for classrooms and figures, measured tools like ShapeNook for fit-critical repairs, Fusion only if you need heavyweight parametric work.
- Learn five core moves (sketch, dimension, extrude, cut, export) and model a real object you own instead of following tutorial sprawl.
- Print a five-minute tolerance test at 0.0, 0.2, and 0.4 mm clearance before committing to any fit-critical part.
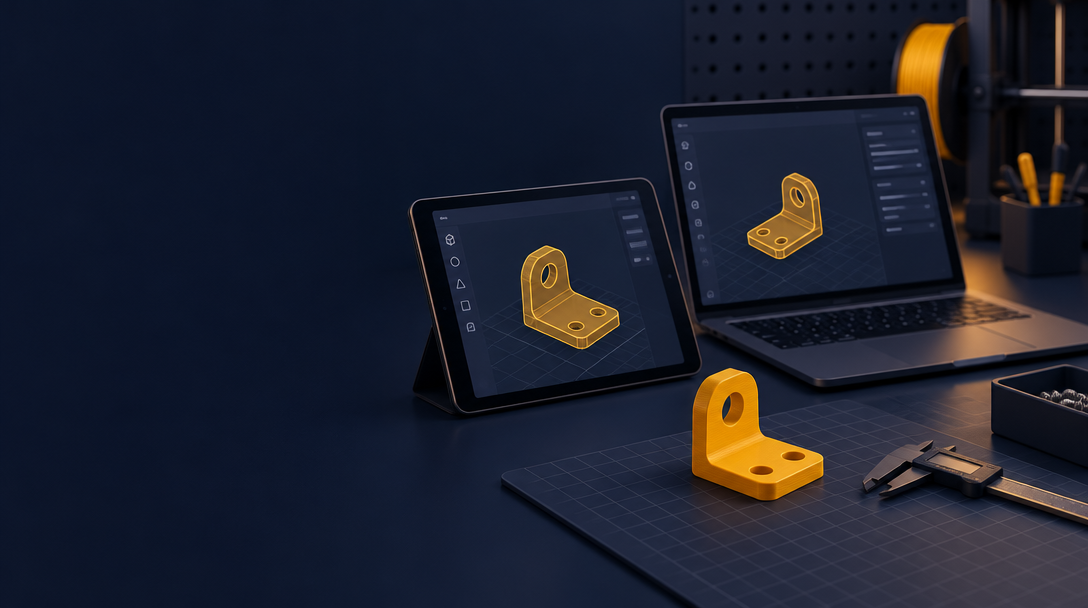
Yes, CAD works for 3D printing, and an easy CAD for 3D printing is all most makers need for functional parts, figures, or classroom projects. This guide maps your goal to one specific tool, then walks a learning sequence: calipers, tolerances, and a first printable model, without the weeks of software study that scares most beginners off.
Can you use CAD for 3D printing, or do you need different software?
Yes. CAD is the right tool for functional prints, and the file it exports is exactly what your slicer wants. You model a bracket, knob, or nut trap at real dimensions, export an STL or 3MF, and drop it into your slicer. No separate modelling step in between.
What a slicer actually needs from your CAD model
A slicer consumes a closed, watertight mesh with real-world scale. That is it. It does not care whether you made the model in TinkerCAD, Fusion, or ShapeNook; it cares that the solid is manifold, sized in millimetres, and exported as STL or 3MF. CAD gives you all three by default, because you are working with exact measurements and booleans rather than pushing vertices by hand.
That precision matters for fit. A replacement part only works if the printed piece clears a screw head or seats a heat-set insert within your printer's tolerances. Sketching on paper cannot hand your slicer a 3MF.
The confusion is real, though. One hobbyist put it plainly: hobbyist printing "exists between these two audiences of engineers who design for function and designers who design for design, and all the newbies get caught up in the mosh pit between them all" (HN thread). For functional parts, ignore the design side entirely. CAD built for exact sizes is the tool.
What is the best CAD for 3D printing when you're a complete beginner?
"Best" is the wrong question. The right question is which tool gets you to a first printed part fastest, while still handling exact sizes.
The four criteria that actually matter
- Time-to-first-part. Can you go from blank screen to a printable bracket in one evening, not one weekend?
- Exact sizing. You need to type 12.4 mm and trust it, because a nut trap that's 0.3 mm off is scrap.
- Print checks. Overhangs and thin walls should be flagged before you export, not after three hours of failed prints.
- Price. Hobby prints don't justify Fusion-sized subscriptions, and free tiers that shrink are a real worry.
Running the popular tools through the same criteria
| Tool | Time-to-first-part | Exact sizing | Print checks | Price for a hobbyist |
|---|---|---|---|---|
| TinkerCAD | Very fast | Basic | Minimal | Free |
| Fusion | Slow | Excellent | Strong | Free tier, with limits |
| Shapr3D | Fast | Excellent | Strong | Paid |
| SelfCAD | Moderate | Good | Some | Paid |
| ShapeNook | Fast | Exact mm input | Built-in print checks | Free plan; Plus $9.99/mo or $79.99/yr |
ShapeNook is built around this exact list: browser and iPad, real dimensions, and checks for overhangs before anything hits your slicer. If your goal is functional parts for repairs, start there. If you're printing figures instead, the criteria shift toward sculpting, which ShapeNook's AI figure tool covers separately.
Which easy CAD should you pick based on what you want to print?
Match the tool to the job. Three goals cover most beginners: fixing things around the house, printing figures to sell, and teaching a class.
Functional parts and repairs
If you're replacing a broken bracket or modeling a nut trap, you need exact dimensions and honest tolerances, not artistic tools. This is where calipers earn their keep, and where a parametric tool that edits dimensions after the fact saves you from starting over. ShapeNook is built for exactly this: you build from shapes and holes at exact millimetre sizes, print one fit test so holes, nuts and magnet pockets match your own printer, check overhangs, and export a 3MF your slicer accepts, in the browser or on a tablet. The honest trade-off against learning Fusion: a general CAD package does more, but the learning curve is the reason one DIY Stack Exchange user said it was "faster to use paper and pen the old way" (source). If you want a gentler on-ramp first, TinkerCAD works and our TinkerCAD comparison covers where it stops being enough for fit-critical parts.
Figures and craft-fair stock
Sculpted, organic shapes want a different workflow than boxes and holes. TinkerCAD handles simple figurines and nameplates well; if you'd rather not sculpt at all, ShapeNook can turn a picture into a printable 3D figure.
Classroom use
Teachers need something students can learn in one session and run on Chromebooks. TinkerCAD remains the default here, with ShapeNook (free for classrooms; students join with a class code) as an option when lessons move toward measured, functional prints.
How do you start learning CAD for 3D printing without getting overwhelmed?
Step 1: Get calipers and learn to measure
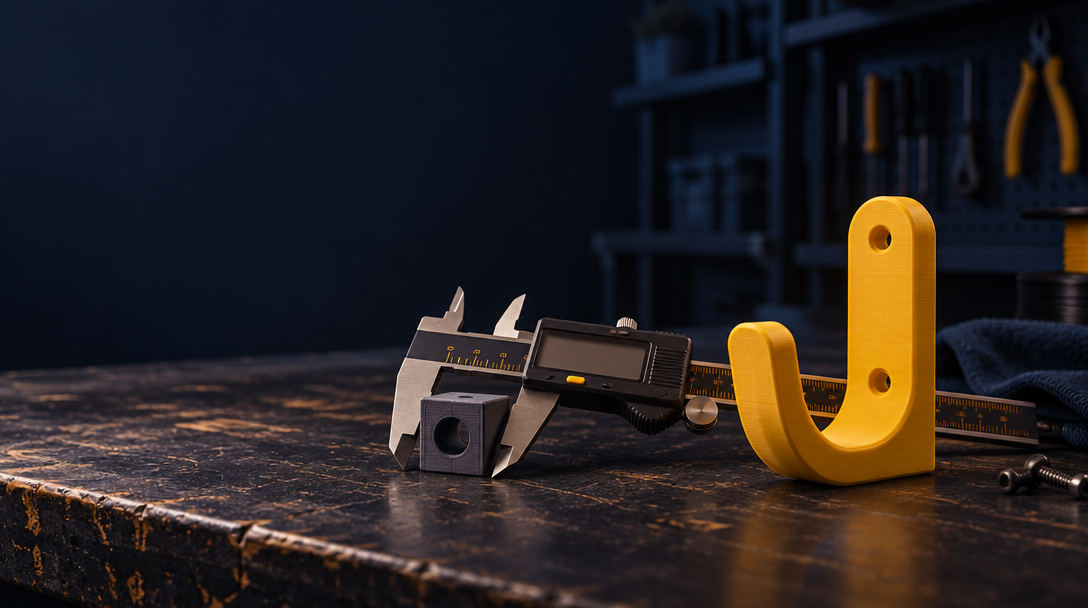
A $15 pair of digital calipers captures most of what a functional part needs: hole diameters, wall thicknesses, the gap between two mounting bosses. Measure the part you want to replace, write down the numbers, and add your tolerance. A 3D-printed hole usually needs to go slightly larger than the bolt; a peg going into a hole needs to go slightly smaller. Get this habit first and every tool becomes easier.
Step 2: Learn one tool's core moves only
Pick one tool and ignore everything else in its ecosystem. You need maybe five moves: sketch a shape, dimension it, extrude it, cut a hole, and export. That is enough to model brackets, shims, and spacers. If a tutorial touches fillets, assemblies, or render modes, skip it for now. Some tools, including ShapeNook's AI-assisted flow, shortcut the sketching step by generating a starting model you then adjust to your caliper numbers.
Step 3: Model something you already own
Model a knob, a hook, or a battery cover for something in your house. Real dimensions from your calipers beat any tutorial exercise, and the slicer will tell you immediately if your tolerances are off.
What makes a CAD model ready to 3D print?
Watertight and manifold
A printable model has closed, manifold geometry: every edge shared by exactly two faces, no holes, no zero-thickness walls. Most slicers will flag or silently patch broken meshes, but the fix is unreliable. Design in a solid-based tool and you avoid most of these problems before export.
Sizing and tolerances for a real fit
Measure the part with calipers, then model at exact size and subtract a tolerance so the printed piece actually fits. A slip fit over a shaft might need 0.2–0.4 mm of clearance depending on your printer. This is the step most beginners skip, and it's why their first bracket doesn't fit.
Overhangs and print checks
Anything steeper than roughly 45° from vertical needs supports, and supports cost time and leave scars. Chamfer the overhang, flip the part, or split it. ShapeNook runs print checks on exact-size models as you design, so you catch overhangs before the slicer does. That matters when you chose it because paying for Fusion makes no sense for hobby printing, a frustration Prusa forum users share (source). See how tools compare on this at ShapeNook's comparison page.
How do you get from a CAD model to an STL or 3MF your slicer accepts?
STL vs 3MF
STL is the old default: it stores only triangle surfaces, so file sizes balloon and units can be misread. 3MF stores exact geometry, units, and colors in a smaller file, and Bambu Studio and PrusaSlicer both accept it. Prefer 3MF whenever your slicer offers it; keep STL for older tools or sites that demand it. Either way, export in millimeters so your caliper measurements survive the trip.
Export checks before you slice
Three failures cause most rejected exports. First, non-manifold or open shells: if a slicer reports "not watertight," go back and close the gap where two solids almost meet. Second, scale errors: a part that measures 25 in CAD but imports 25 times too small means your units were wrong, not your model. Third, tiny features below your nozzle width, like a 0.3 mm nut trap wall, will vanish in slicing. Before you slice, load the file, check its dimensions against your calipers, and confirm the fit surfaces read the tolerance you designed.
What should your first CAD-designed 3D print be?
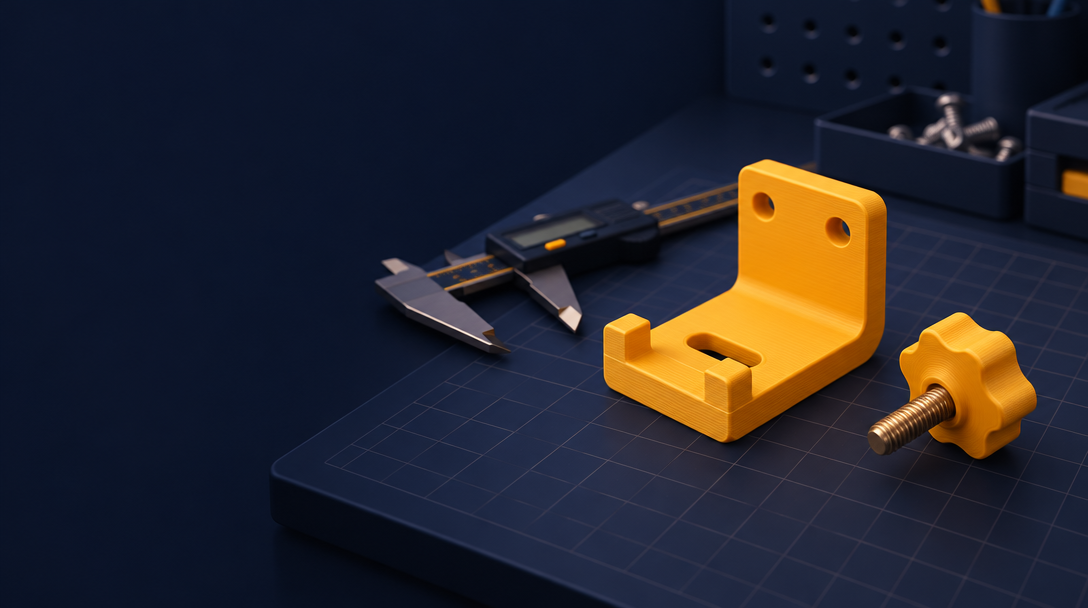
Pick a wall hook or L-bracket. It exercises sketching, extruding, and fillets, it prints fast, and failure costs minutes of filament instead of hours.
A worked example: a wall hook that fits
Measure the screw head, screw spacing, and shelf thickness with calipers, then sketch the profile and extrude it. Leave a 0.2 mm gap around the screw head so the hook seats without reaming. Print it, hold the real part against the real wall, and adjust the sketch rather than the printer.
Print a tolerance test first
Before the final part, print a five-minute fit test: the same hole or slot at 0.0, 0.2, and 0.4 mm clearance. Your printer, filament, and slicer all shift the numbers, so a test tells you which value snaps in cleanly. This is the same reason a first bracket beats a first enclosure: small parts isolate variables.
One caution on tool choice: Autodesk has changed Fusion's personal-use terms before, and the current license limits what free users can do, so check Autodesk's Fusion personal-use terms before committing a workflow to it.
How much should easy CAD for 3D printing cost?
For functional prints, free should be your starting point. TinkerCAD is free in the browser, and Fusion's free personal tier has hobbyists asking whether it will survive Autodesk's licensing changes, a worry that shows up again and again on the Prusa forum.
The honest rule: pay nothing until you've finished your first five printable parts. A bracket that fits with 0.2 mm of tolerance teaches you more than a subscription does.
When you do pay, look for clear pricing and a license that lets you sell what you make. ShapeNook works in the browser and on iPad, with print checks and exact sizing built in. The Free plan needs no card, Plus is $9.99 a month or $79.99 a year, and you can sell what you make on every plan, including Free. Craft-fair sellers especially should not lose money to software before they've sold a single print.
FAQ
Is TinkerCAD good enough for functional prints, or do I outgrow it?
TinkerCAD handles simple brackets, nameplates, and classroom projects fine, and it's free in the browser. You outgrow it when fit matters: you can type exact sizes, but nothing tunes holes and fits to your own printer, so nut traps and heat-set pockets take trial and error. Once a part must seat against real hardware, move to a tool built for measured, functional prints.
Do I need to learn Fusion to design parts with heat-set inserts and nut traps?
No. Fusion does more, but the learning curve is steep and its free tier lives at Autodesk's licensing mercy. What you actually need is exact millimetre input, a boolean cut for the trap, and an export your slicer accepts. Simpler tools with print checks cover heat-set inserts and nut traps without weeks of study.
Can I do CAD on an iPad or tablet, or do I need a PC?
You can work entirely on a tablet. ShapeNook runs in the browser on iPad, and Shapr3D was designed for it. A PC only becomes necessary for heavyweight parametric work or sculpting packages that demand a mouse and dedicated GPU. For brackets, hooks, and spacers, a tablet plus calipers covers the whole workflow.
How long does it take to learn CAD well enough to print useful parts?
One evening for a first printable part, if you stick to five moves: sketch, dimension, extrude, cut, export. A week of practice on objects you already own gets you to parts that fit. The trap is tutorial sprawl; skip fillets, assemblies, and renders until a real project demands them.
What tolerance should I leave for a press fit vs a sliding fit?
Start with roughly 0.0 mm for a press fit, 0.2 mm for a snug slide, and 0.4 mm for a loose slide, then run a five-minute fit test at all three. Your printer, filament, and slicer each shift the numbers, so a printed test beats any universal figure.