Beginner CAD Software for 3D Printing: Pick Your First Tool
TinkerCAD, ShapeNook, Fusion or Shapr3D? Match your first CAD tool to what you print, then follow a design-to-slice walkthrough to a part that fits.
Key takeaways
- Tinkercad is the easiest beginner CAD tool, but drag-and-drop makes precise 0.2 mm fits tedious for functional parts.
- Match your tool to your profile: hobbyist, craft-fair seller, teacher, or Bambu Lab multicolor owner.
- Export 3MF instead of STL when you need colors, units, or multiple bodies to survive the trip to your slicer.
- Start with 0.2 mm clearance for a snug press fit and 0.4 mm for a loose sliding fit, then adjust from test prints.
- Tinkercad and ShapeNook get a first sliced bracket done in about an hour; Fusion and Onshape realistically cost a weekend of tutorials.
Tinkercad is the easiest beginner cad software for 3d printing, but it is not the best pick for every maker. If you print brackets, enclosures, and nut traps on a Bambu or Ender, pick your tool by profile: hobbyist, craft-fair seller, teacher, or multicolor owner. This guide matches each profile to a tool, then walks through its first design-to-slice workflow so you can judge print-readiness, not feature lists.
Which beginner CAD software is easiest if you've never designed anything before?
What 'easy' actually means for a functional print
Easy isn't a cute interface. For a bracket or an enclosure, easy means: exact dimensions in millimetres, a hole you can size for a heat-set insert or a nut trap, and an export your slicer opens without repair. A tool that makes fun blobs but fights you on a 0.2 mm tolerance isn't easy, it's a detour.
The 60-minute test we used
We ranked entry points by one question: can someone who has never opened CAD go from blank screen to a sliced, dimensionally correct part in about an hour, without a tutorial playlist?
| Tool | Time to first usable part | Catch |
|---|---|---|
| TinkerCAD | ~30–45 min | Drag-and-drop only; fiddly for precise fits |
| ShapeNook | ~30–45 min | Built around print checks, so fewer surprises at the slicer |
| Fusion | Days of basics first | Powerful, but the learning curve is the cost |
If you're torn between two, run the same bracket through both and compare them side by side.
Which CAD tool fits your profile: hobbyist, craft-fair seller, teacher, or Bambu owner?
Home-repair hobbyist: brackets, shims, and nut traps
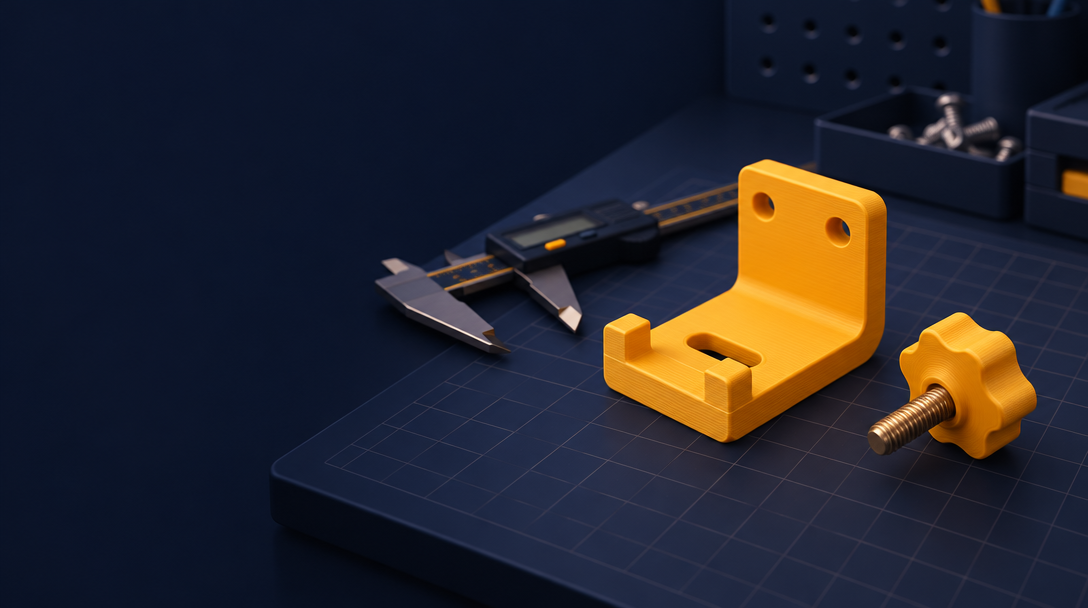
You measure a broken bracket with calipers, sketch the replacement, and want exact millimeters plus a nut trap or heat-set insert pocket. You need parametric edits (bump the width 3 mm, re-slice) and a print check for overhangs before you waste filament. TinkerCAD handles simple shapes but fights you on precise fit. Fusion does it all at the cost of weeks of learning. ShapeNook is built for exactly this middle ground: exact sizes, print checks, and a short path to your slicer.
Craft-fair seller: repeatable, resizable designs
Your problem is variation: the same planter in four sizes, personalized names, sold at a fair price per piece. You want one design that resizes cleanly and a tool that doesn't tax every sale. ShapeNook helps you work out a fair price for each print you sell, and every plan, including Free, lets you sell what you make.
STEM teacher: 30 students, one lesson period
You need browser access, no installs, and a first result inside one class period. TinkerCAD wins on classroom familiarity; see our TinkerCAD comparison for the honest breakdown.
Bambu Lab owner: multicolor without tears
You want color assignments that survive the trip to your slicer. Export a clean 3MF and let the printer handle the rest.
What's the difference between free browser-based CAD tools and desktop installs for 3d printing?
Where browser tools win
Nothing to install, nothing to update, and your file follows you from the desktop to the tablet on the workbench. For a bracket or nut trap designed between errands, that zero-friction start matters more than a long feature list. Browser tools also sidestep GPU and driver headaches on older laptops.
The practical test is simple: open the tool on whatever device is nearest, model a 40 mm bracket with one 6 mm hole, export, and slice it. If that loop takes under fifteen minutes without a tutorial, the tool passes. Browser tools usually pass because they remove the setup steps that kill momentum: no download, no account verification email, no graphics driver panic on a five-year-old laptop. That matters more than it sounds, because the most common failure mode for a beginner isn't picking the wrong CAD tool, it's never finishing the first session at all. A maker who designs one small part on a Tuesday evening, slices it Wednesday, and holds a fitting bracket on Thursday is far more likely to keep going than one who spent the same week installing software. Zero-friction start is a feature, not a compromise, and it is the main reason browser tools dominate the beginner tier.
Where desktop installs win
Desktop apps handle bigger assemblies and heavier files without a network round-trip, and they keep working when your Wi-Fi doesn't. If you're modeling a multi-part enclosure with tight tolerances, local performance pays off.
When 'free' stops being free
Free tiers often cap exports, storage, or commercial use, so check before your craft-fair season starts. ShapeNook's browser and iPad app publishes its pricing openly, with a Free plan and Plus at $9.99 a month or $79.99 a year (ShapeNook pricing). Every plan, including Free, lets you sell what you make, which many free tools restrict. If you want generated starting points instead of a blank canvas, ShapeNook's AI 3D figures workflow gets you an editable model fast.
Which free CAD software works best with a Bambu Lab printer and multicolor prints?
Why STL loses your colors
STL is geometry only: triangles, no color, no material. If you paint a part in your CAD tool and export STL, the slicer sees one solid blob and your AMS has nothing to act on. Any multicolor work has to go out as 3MF instead.
Exporting 3MF with painted colors
3MF carries per-object color and part assignments, so what you paint survives the trip into Bambu Studio. Fusion and Onshape export 3MF, but whether painted colors come through depends on the tool. The safe check: slice a two-color test cube before committing to a big print. If your tool's 3MF drops the paint, you'll be repainting in Bambu Studio's slicer, which works but doubles your work.
A multicolor workflow from sketch to AMS
In ShapeNook, build the part at exact sizes, assign colors to bodies or faces, and export 3MF straight into Bambu Studio, where the AMS picks up the assignments. For quick logo plates or signage, you can also start from a generated draft and recolor it. The honest caveat: complex multi-material parts with tight tolerances still deserve a fit-test print, whatever tool you use.
First print in under an hour: the design-to-slice walkthrough for each tool
TinkerCAD: first print walkthrough
Sign in, start a new design, and drag a box onto the workplane. Type your caliper measurement into the dimension fields, add a second box for a hole, and use the align and group tools to cut it. Export as STL, drop it into your slicer, and slice. Most first brackets come off the printer within the hour.
ShapeNook: first print walkthrough
Open ShapeNook in a browser or on an iPad, place shapes and holes at exact sizes or start from a template, and print one fit test so holes and nuts match your printer. The overhang check flags anything that would print in midair before you export, so the file that reaches your slicer is already printable. Export a 3MF or STL and you're done.
Fusion: what the first hour really looks like
The honest answer is that your first hour in Fusion is spent learning the interface, not printing. Sketch, extrude, and the timeline take real practice, and the reason people still push through is capability. Fusion's personal-use license is free for qualifying hobbyists with limits on what you can make, so check Autodesk's current personal-use terms before committing. If that trade doesn't suit you, see how ShapeNook compares to Fusion.
Shapr3D and Onshape: when they make sense
Shapr3D suits iPad-first designers who want polished modelling and accept a subscription. Onshape fits anyone who wants full parametric CAD in a browser and can tolerate a steeper climb. Both export clean STLs; neither is the fastest route to a first nut trap.
What file format should you export from beginner CAD software for your slicer?
Export 3MF if your slicer supports it and STL if you want maximum compatibility. Both slice fine; the difference is what survives the trip.
STL: the safe default
STL is accepted by every slicer and every CAD tool. It stores only surface geometry, so units, colors, and part names are lost. For a single-color bracket or nut trap, that costs you nothing.
3MF: when you need color or units
3MF carries units, colors, and multiple bodies in one file, which matters for multicolor prints on a Bambu. It also avoids the unit-guessing that STL forces on your slicer.
Export settings that prevent slicer surprises
Set your design units to millimeters before exporting. For STL, pick a fine tolerance (0.05 mm or less) so curved surfaces stay smooth. Check overhangs in the slicer preview before printing.
How do you know when a beginner tool has become too limiting for your projects?
Five signals you've outgrown it
You're fighting the tool instead of the part. Watch for these: you need a dimension smaller than the tool's grid snap, you're sketching a bracket that needs two nut traps and a heat-set insert boss and the tool can't do both cleanly, you keep exporting STLs to fix in your slicer, every print needs supports because you can't draft an overhang, and you're rebuilding the same part from scratch each time instead of reusing a parameter.
Where each tool hits its ceiling (including ShapeNook)
TinkerCAD tops out at precision parts with real tolerances. Fusion demands hours most hobbyists won't spend. Shapr3D's free plan is limited in what you can export and design, per its official pricing page. ShapeNook covers exact sizes and print checks but stays beginner-focused, so heavy surfacing work is beyond it.
Stepping up without starting over
Your caliper measurements, tolerance notes, and 3MF files carry over. Rebuild one proven part in the new tool first.
How long does it take to go from zero CAD experience to your first successful print?
Time budgets by tool
TinkerCAD and ShapeNook are the fastest on-ramps: expect your first sliced bracket within an hour of opening the browser tab, because both skip sketch constraints and parametric history. SelfCAD and Shapr3D sit closer to an evening of learning before a first functional print. Fusion and Onshape reward the investment but realistically cost a weekend of tutorials before your first nut trap fits. The home-repair hobbyist profile should budget one focused evening, not weeks; the craft-fair seller should add a second evening for repeatable, sized-right designs.
Measure first: calipers and tolerances
The biggest time sink isn't the software, it's prints that don't fit. Buy calipers, measure the actual part (a shelf pin, a hinge knuckle), and add a tolerance: start at 0.2 mm of clearance for a snug press fit, 0.4 mm for a loose sliding fit, then adjust from your own test prints. Design the hole or nut trap slightly small, print, test, and widen. One calibration print saves more hours than any tutorial.
FAQ
Is TinkerCAD still the best starting point, or are there better free options in 2026?
For a first result inside a class period, TinkerCAD still wins on familiarity. But for functional parts, it fights you on precise fits, since drag-and-drop makes a 0.2 mm tolerance tedious. If your goal is a bracket that actually fits, ShapeNook gets you to a sliced part in the same 30-45 minutes with print checks built in.
Do I need to pay for Fusion as a hobbyist, or is a free tool enough?
Fusion offers a personal-use license that is free for qualifying hobbyists, with limits on what you can make, so check Autodesk's current terms before committing. The bigger cost is time: expect a weekend of tutorials before your first nut trap fits. If you only need exact sizes and a clean export, a browser tool is enough.
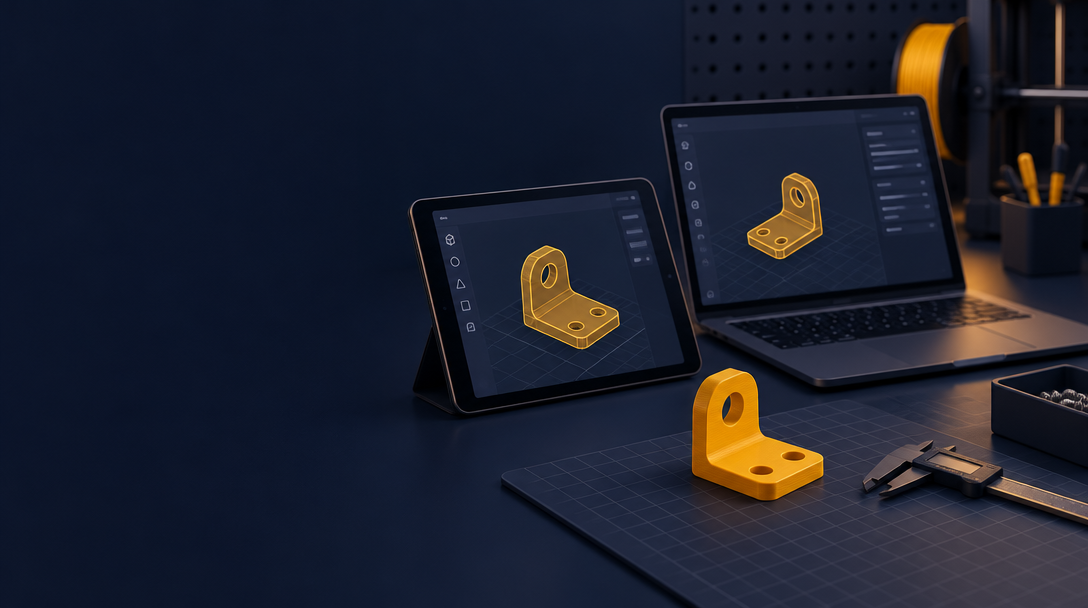
Can I design on an iPad or tablet and send files straight to my printer?
Yes. ShapeNook runs in a browser and on an iPad, so you can sketch a part at exact sizes, run print checks, and export a 3MF or STL to slice on any machine. Shapr3D is the other strong iPad option, though it requires a subscription. Either way, the file travels to your slicer, not the printer directly.
What tolerance should I leave for a press-fit or a nut trap?
Start at 0.2 mm of clearance for a snug press fit and 0.4 mm for a loose sliding fit, then adjust from your own test prints. Design the hole or nut trap slightly small, print, test, and widen. Calipers matter more than any tutorial here: measure the real shelf pin or hinge knuckle before you model anything.
Do I need CAD experience to design something for a craft fair?
No, but you do need repeatability. Your problem is variation: the same planter in four sizes, personalized names, priced per piece. Pick a tool with a free tier or flat pricing that lets you sell prints commercially, since many free tiers restrict commercial use. Budget two evenings: one to learn, one to build resizable designs.