How to Make a 3D Part That Fits the First Time
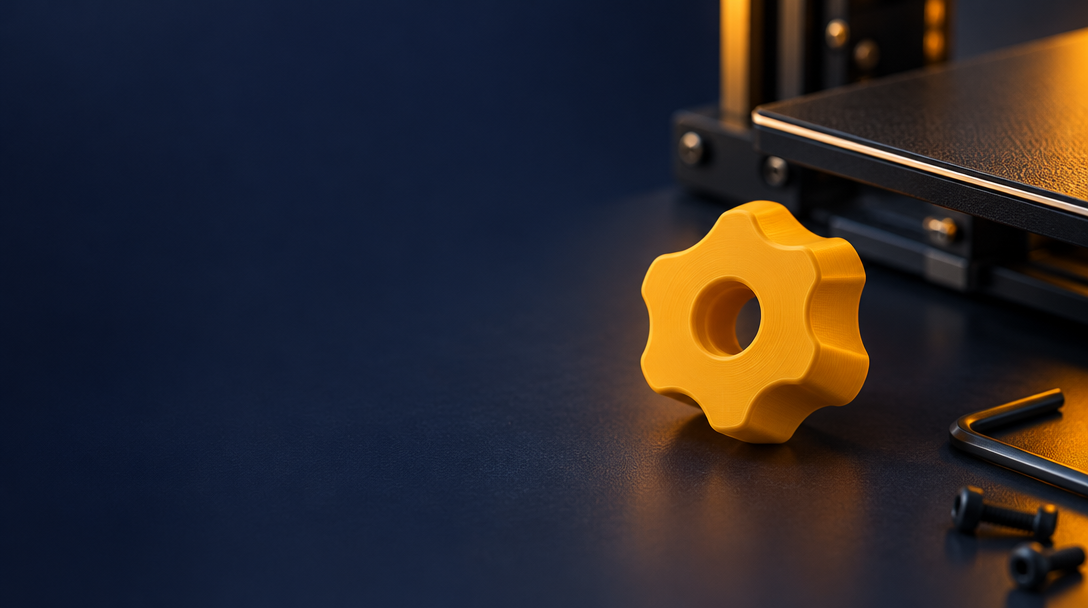
The knob cracked. The shaft is fine. You need a new one before dinner.
That is the moment most makers reach for a 3D printer. The problem is that a part that looks right on screen often fails on the shaft. The hole is a little too tight, or a little too loose, and you print it again.
This guide shows you how to design a replacement part that fits the first time, using real measurements and a fit test for your own printer.
Why parts fail to fit
Printers do not produce exact sizes. Plastic shrinks slightly as it cools, and every machine lays down walls and holes a little differently. A hole that is 6.0 mm in your design may print at 5.8 mm or 6.2 mm.
If you design with perfect numbers and hope for the best, the first print is a guess.
Step 1: Measure the shaft
Use calipers to measure the part you are replacing.
- Measure the shaft diameter at its widest point.
- Note any flat sides or keyways.
- Measure the length the part needs to cover.
Write the numbers down. You will type them into your design.
Step 2: Run a fit test in ShapeNook
Choose Tools, then Fit test, then Put the fit test on the mat. You get a small plate with six numbered holes and a peg.
Choose Export the fit test and print it. Then tap the first hole the peg slides into without forcing. That sets your fit allowance, which starts at +0.2 mm.
Keep this number. Use it for every shaft part you design on that printer.
To learn more, read the lid fit guide. For more on print tests, read the print tests guide.
Step 3: Set exact sizes in ShapeNook
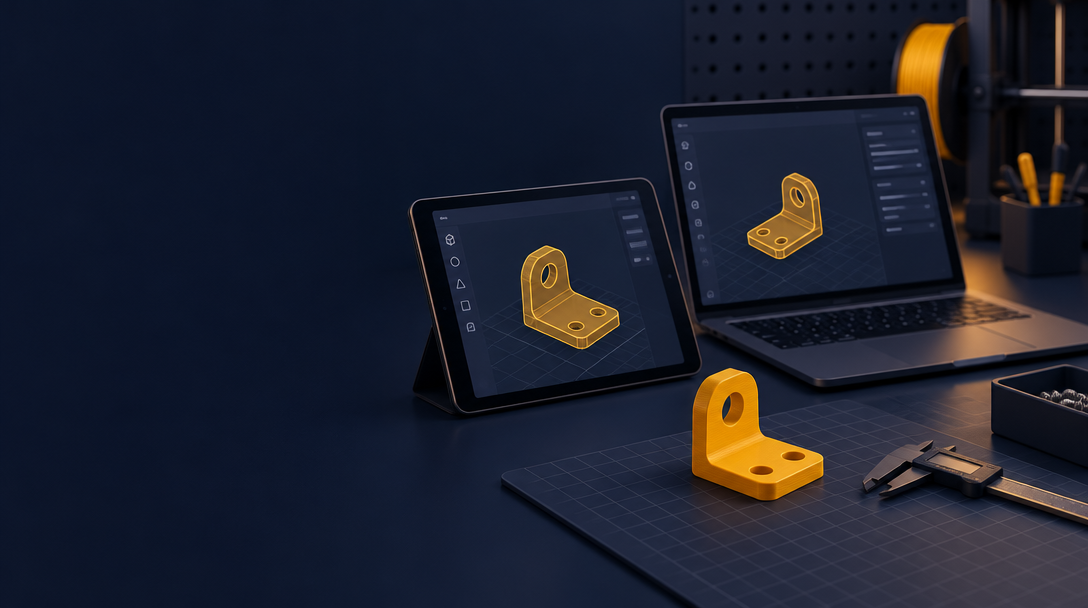
Open ShapeNook in the studio in your browser or on your tablet. Start with a simple shape, then type exact sizes instead of dragging by eye.
- Set the outer diameter and height.
- Make the shaft hole your measured diameter plus your allowance. For example, a 6.0 mm shaft with +0.2 mm allowance gets a 6.2 mm hole.
- Add a flat or keyway if your shaft has one.
A plain hole stays exactly the size you type, so the allowance is only added when you make the shaft hole.
With Plus, the overhang check shows what will need support before you print, so you can catch it early.
Keep walls at least 1.2 mm thick with a 0.4 mm nozzle so the part stays strong.
Step 4: Print and check
Export the STL and print it.
Test the part on the shaft before you call it finished. If it is too tight, adjust the hole by a tenth of a millimeter and print again. Once you have the right allowance for your printer, the next part should fit the first time.
Start with the part you need
Your next fix is probably a single part. Measure it, set the sizes, and print it.
Start in the studio and make the part you need.
What will you make first?