Print-in-Place Fidget Toys Kids Can Design Themselves
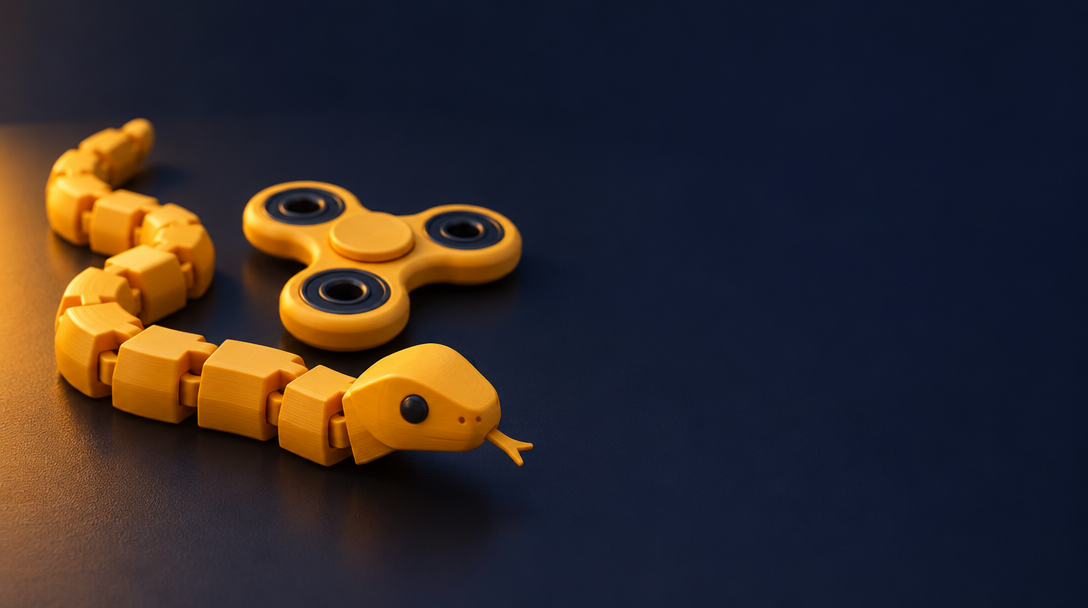
Some fidget toys come out of the printer already assembled. The hinges move, the joints turn, and nothing needs glue or screws. These are called print-in-place designs, and they are a great project for kids who want to make something that actually works.
This guide explains how print-in-place joints work, why the gap matters, and three simple projects to try first.
How a print-in-place joint works
A print-in-place joint is two parts that touch but do not fuse. The printer lays down one piece, then the next, and the parts sit close together without sticking. Once the print is done, the joint moves freely.
The secret is the gap. Between the moving parts, you leave a small space. If the gap is too small, the parts fuse and the joint is stuck. If it is too large, the joint is loose and wobbles.
Set the gap
A good starting gap is about 0.3 to 0.4 mm with a 0.4 mm nozzle. Every printer is a little different, so this is only a starting point.
To find the right gap for your printer:
- Print a small test with three or four gap sizes.
- Try each joint by hand.
- Choose the smallest gap that moves freely without sticking.
- Use that number for every joint on that printer.
In ShapeNook, use the fit test to find your printer's allowance. Then type your gap into the joint sizes.
For more on joints, read the hinges and joints guide.
Not sure where to start? ShapeNook's free parts library includes joints you can drop into your design, then change to fit your project.
Project 1: A flexi snake
A flexi snake is made of a row of short segments that link together. Each segment has a small hinge on one side and a socket on the other.
Start with three or four segments. Set the length of each segment, the width and the gap. Print one snake and check that it bends in both directions. Add more segments once the first one works.
Watch for the first and last segments. They need a clean edge so they do not catch on the table.
Project 2: A spinner
A spinner has a round center piece and a ring around it. The ring spins freely on the center.
Design a center disc and a ring with a gap between them. Keep the ring thick enough to feel solid in the hand, usually a few millimeters. Test the spin before you add any decoration.
A spinner is a good first project because it has only one moving part.
Project 3: A hinged box
A hinged box has a base, a lid and a hinge along one edge. The lid opens and closes like a real box.
Design the base and lid with a small gap between them. Add a hinge pin that runs through both parts. Check that the lid sits flat when closed.
A hinged box is a bigger project, so print a small version first to check the hinge.
Design tips for kids
Kids can design these toys with a few simple steps:
- Start with a small size, then make it bigger once it works.
- Change one thing at a time, such as the gap or the length.
- Print a test piece before you print the full design.
- Write down what you changed, so you can remember what worked.
Check for small parts
Small moving parts can come loose. Check every print for loose pieces, and remove any part that breaks off. A fidget toy is for handling, so make sure the parts are large enough to be safe for the person using it.
Export the file and print it
When the design is ready, export the file and print it. Print the toy with the moving parts lying flat, which usually gives the cleanest joints.
After printing, gently work each joint by hand. If a joint sticks, the gap is too small. Print the next version a little larger.
Share and remix
Once a toy works, change it. Make the snake longer, add a second hinge to the box, or change the shape of the spinner. Each remix teaches a new lesson about gaps and joints.
Start your first fidget toy
Choose one project, set a gap of about 0.3 to 0.4 mm, and print a test. Then move on to the next one.
Start in the studio and design your first moving toy.
What will you make first?